Maineiac Heart

  • Home
  • About
  • Maineiac Mind
  • Travel
  • Search

Snowy Valentine's Day Sugar Cookies

February 14, 2017 by Patty Kenny in Maineiac Kitchen Covers
Circle of love.

Circle of love.

Did you see the piles of snow around and on top of our house? I love SNOW DAYS! I feel like I am eight years-old and school is canceled. The timing of the storm couldn't have been better. It gave me a chance to just hang in the kitchen and make these delectable sugar cookies. I used this cookie recipe from Smitten Kitchen, using cream cheese and cold butter, and processing all the ingredients in a food processor. Note: it makes a lot of dough, so you will want a larger processor, or cut your cold butter up into smaller pieces and mix in an electric stand mixer. They were fast to make and the cream cheese is the key ingredient, I think. Makes them a little softer. I added about two-three tablespoons of dehydrated berries (raspberry and strawberry) to the sugar prior to processing. First, I ground some of them in a mortar, then passed the raspberry grounds through a fine sieve to get out the seeds. (Pet peeve: seeds in my teeth.) Strawberry seeds are not a problem. I am not sure it really mattered, but I rubbed the berry "dust" together with the sugar, like I would to flavor sugar with fruit zest.

For months, these dehydrated berries have been hanging out in my cupboard. I forgot that I had gotten them at my last voyage to Trader Joe's in Portland (ME). This was the perfect way to use them. Their color was appropriate to the holiday, and their bright taste was a compliment to the subtler sugar cookie. I also mixed a tablespoon or two into the frosting, as well as sprinkling them on top for decoration--and more flavor!

See the snow that built up on the window screen while I baked. Abstract snow art.

These are sooooo good. The berries are the showpiece here. I have found a new favorite cookie. 

My adaptations to Deb's recipe: added two-three tablespoons of the ground berries (process as explained above); used 1 1/2 tsp vanilla extract (I don't have vanilla beans) and 1/2 tsp raspberry extract. 

For the icing, I made a standard buttercream frosting: 

1 c unsalted butter, 3 c powdered sugar, 1 T whole milk, 1/4 tsp raspberry (I don't have real strawberry extract and the imitation stuff stinks!). Divide frosting in half. Then, I poured a T or more of the ground berries into each half of the frosting, I used more in the strawberry frosting to compensate for not having strawberry extract. 

Then, I used whole, partially ground, and completely ground berries to decorate. 

Yum!

February 14, 2017 /Patty Kenny
sugar cookies, cookies, Valentine's Day, Snow days
Maineiac Kitchen Covers
Comment

Blackberry Bonanza and Blackberry Cheesecake Galette!

August 06, 2016 by Patty Kenny in Maineiac Mind, Images, Maineiac Kitchen Covers

Look at these blackberries! This warmer, drier summer actually seemed beneficial to them. I love blackberries. They are dark and sweet and their seeds don't annoy me as much as raspberry seeds. My husband likes to freeze them to eat all winter. That's okay with me, but I wanted to celebrate these beauties. My friend, Dodi, and I decided to try this recipe from Deb Perelman's Smittenkitchen.com. She said it tastes like a cheese danish, and I agree. 

One of my great cooking challenges is making pie crust. Just. Cannot. Usually. Get. It. Right. This crust was different and easy, and making it in a cheesecake pan worked well. 

I followed Deb's recipe to the letter, except that I didn't have any pistachios. This recipe uses lime rather than lemon. I like lime with most fruits. I especially like it with blackberries. Look at this glorious creature!

Yes, I know the crust is a bit of a mess, however it was tricky to fold it over in the high-walled, spring-form pan with the liquidy filling.  It proves looks aren't everything : )

It tastes every bit as good as it looks. Make it!

August 06, 2016 /Patty Kenny
blackberries, cheesecake, galette
Maineiac Mind, Images, Maineiac Kitchen Covers
Comment

Spring Starts (with a snowstorm) and Pretty, Tasty, Lemon Raspberry Cupcakes!

March 21, 2016 by Patty Kenny in Maineiac Mind, Maineiac Kitchen Covers

It's the first day of Spring, and we got 5 inches of snow. It's the first snow, since the beginning of February. What a strange winter it has been. Last year we set records for snowfall (there was a good 2-3 feet on the ground this time last year) and cold. This year it's the opposite. 

The sky, at dusk, was pastel and pink-hued in this Easter season, with it's pale, soft colors. The days are rapidly gaining light. It's always a bit surprising how quickly the hours of daylight expand at this time of year. Just a few months ago the sun was setting around 3:45 p.m., now (with help from Daylight Savings Time), it sets at 6:45 p.m. In these northern lattitudes, the long days are a treat. There's a gentleness this evening. It's as if the day is slowly, quietly tip-toeing into night.

IMG_5896.JPG

I will be spending the next few days with dear friends. It's a good excuse to keep making mini-cupcakes. These beauties are perfect for this season--lemon cupcakes with raspberry filling and lemon buttercream frosting. Of course, they are only complete with some crushed raspberry sprinkles. My piping skills are rudimentary, however for some reason, these came out pretty. Practice has taught me to make sure the icing is a bit soft, and that you gently turn the cupcake under the piping bag. At least, that is what worked here. The pros I've watched on TV and videos are able to do it without turning the cupcake. Maybe I'll get there someday. 

IMG_5916.JPG

I used the lemon cupcake and lemon buttercream recipes from Sally's Baking Addiction, with an adaptation of the raspberry preserve filling.


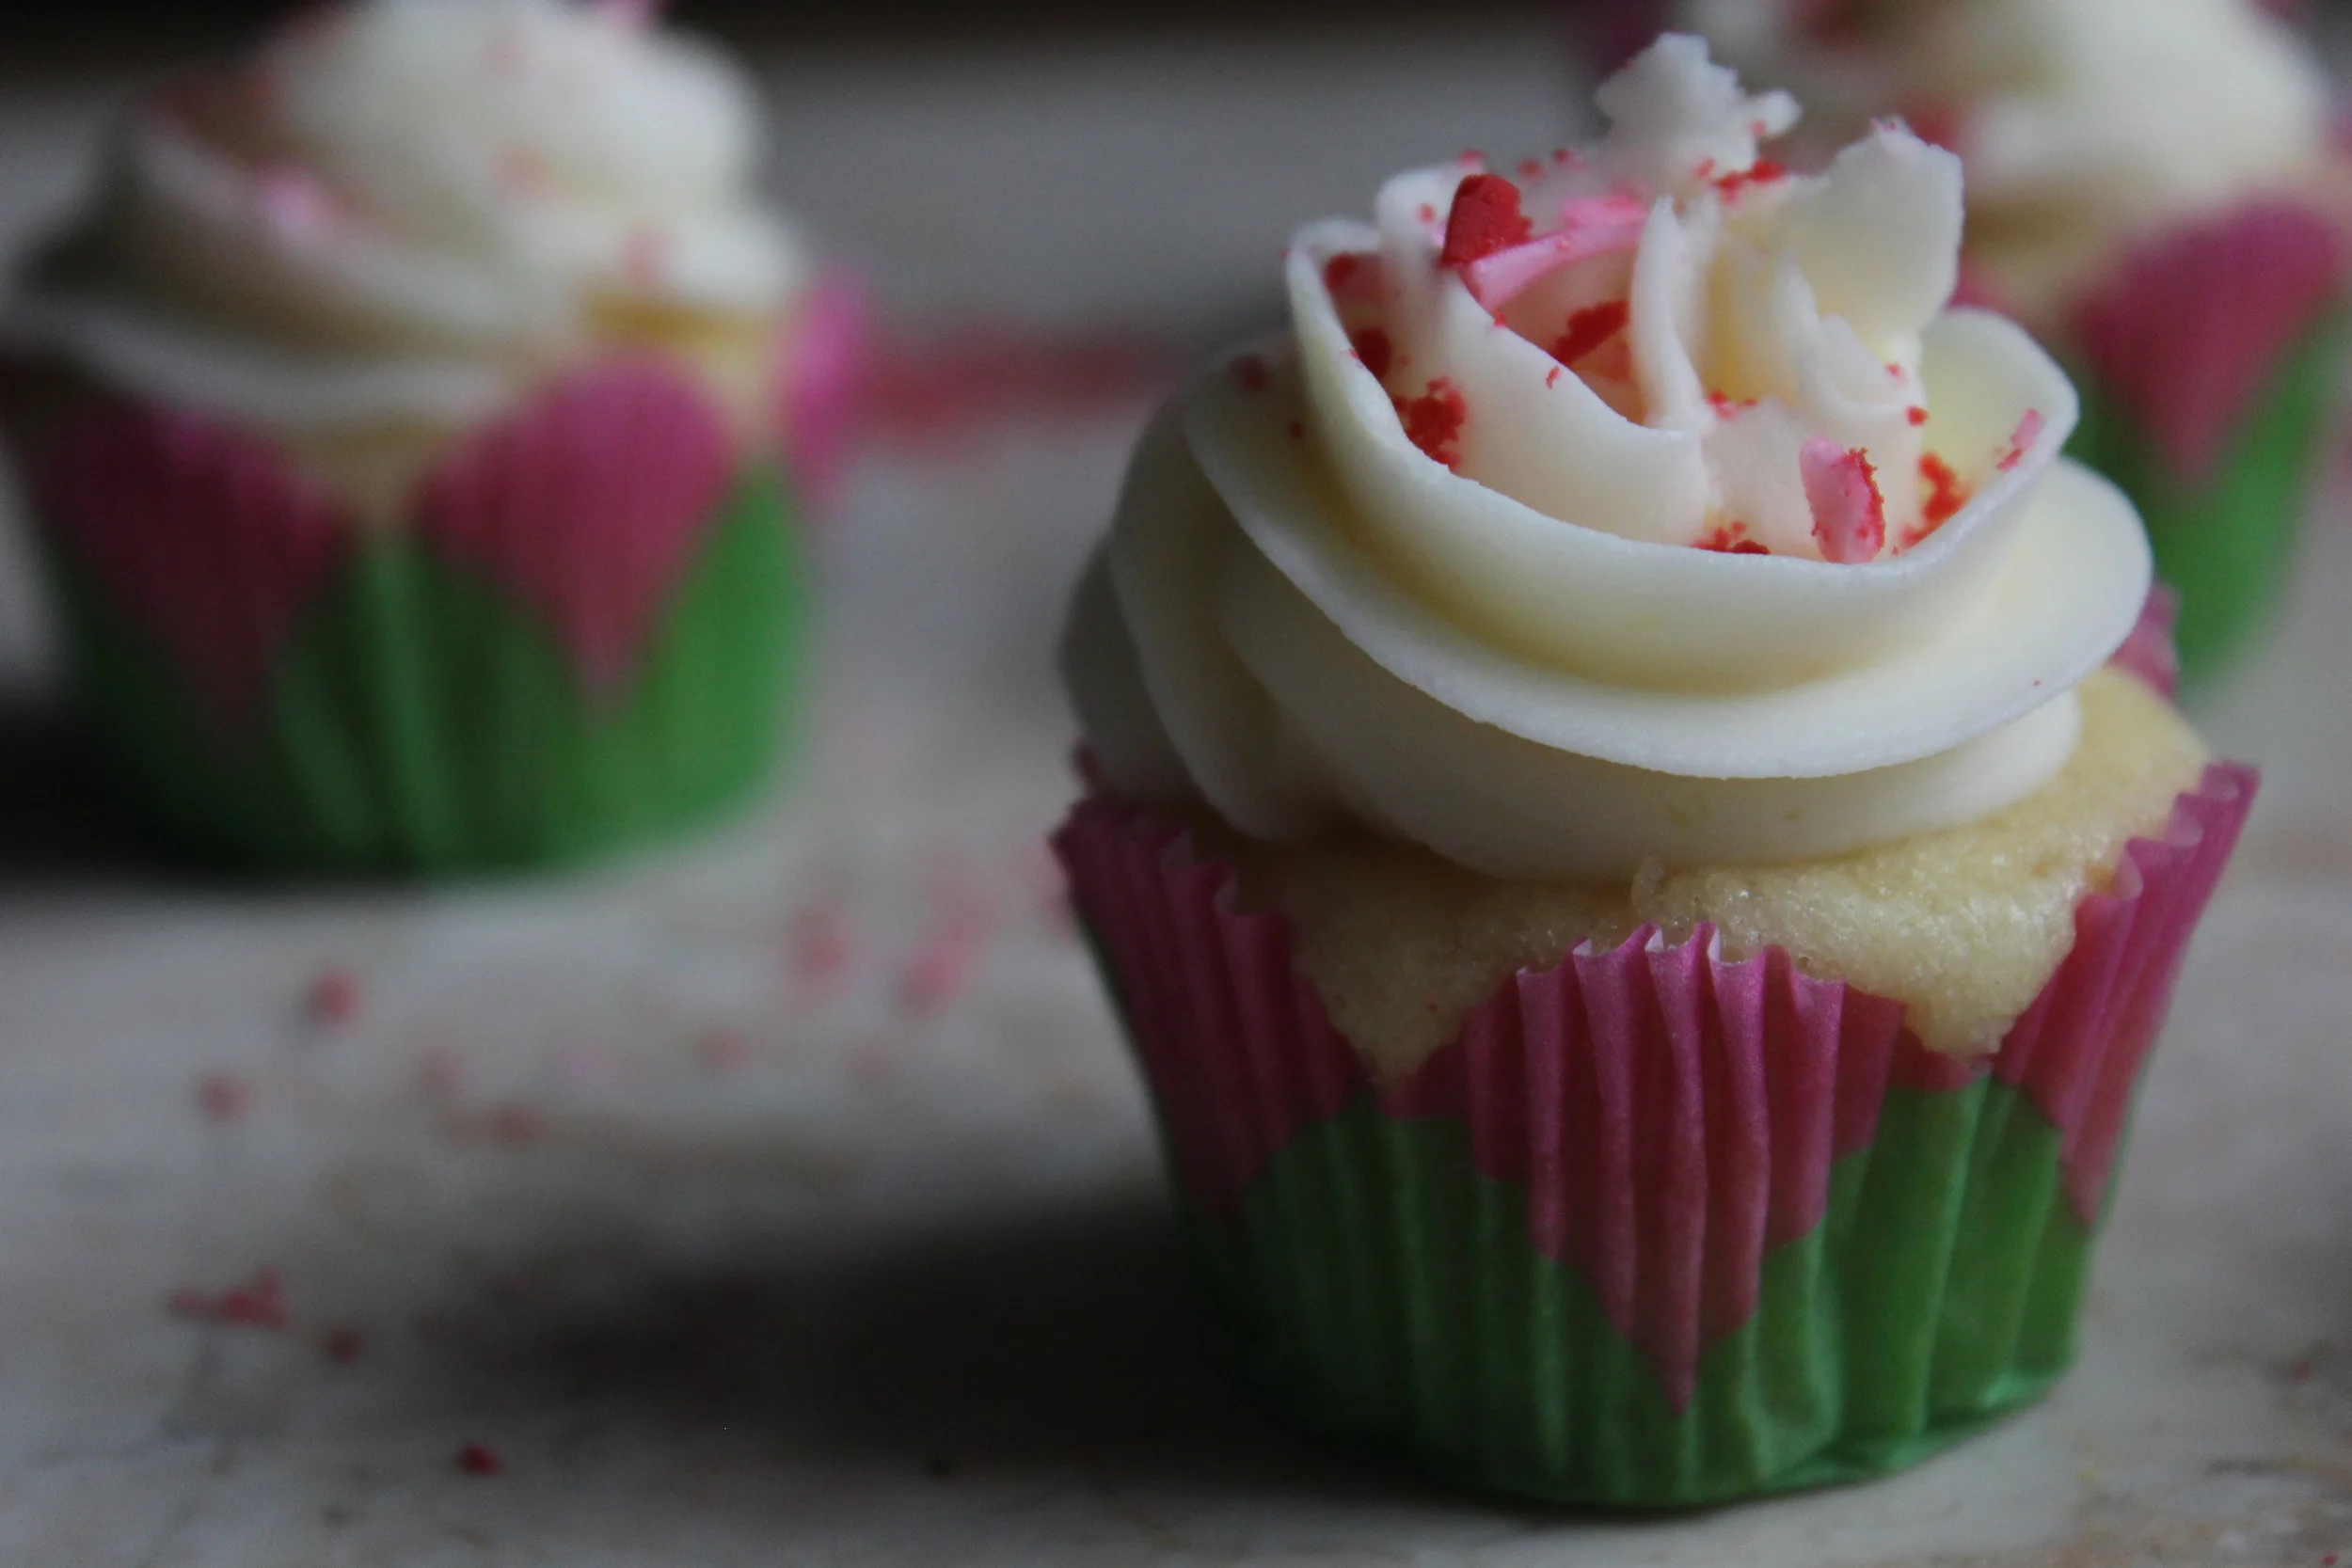
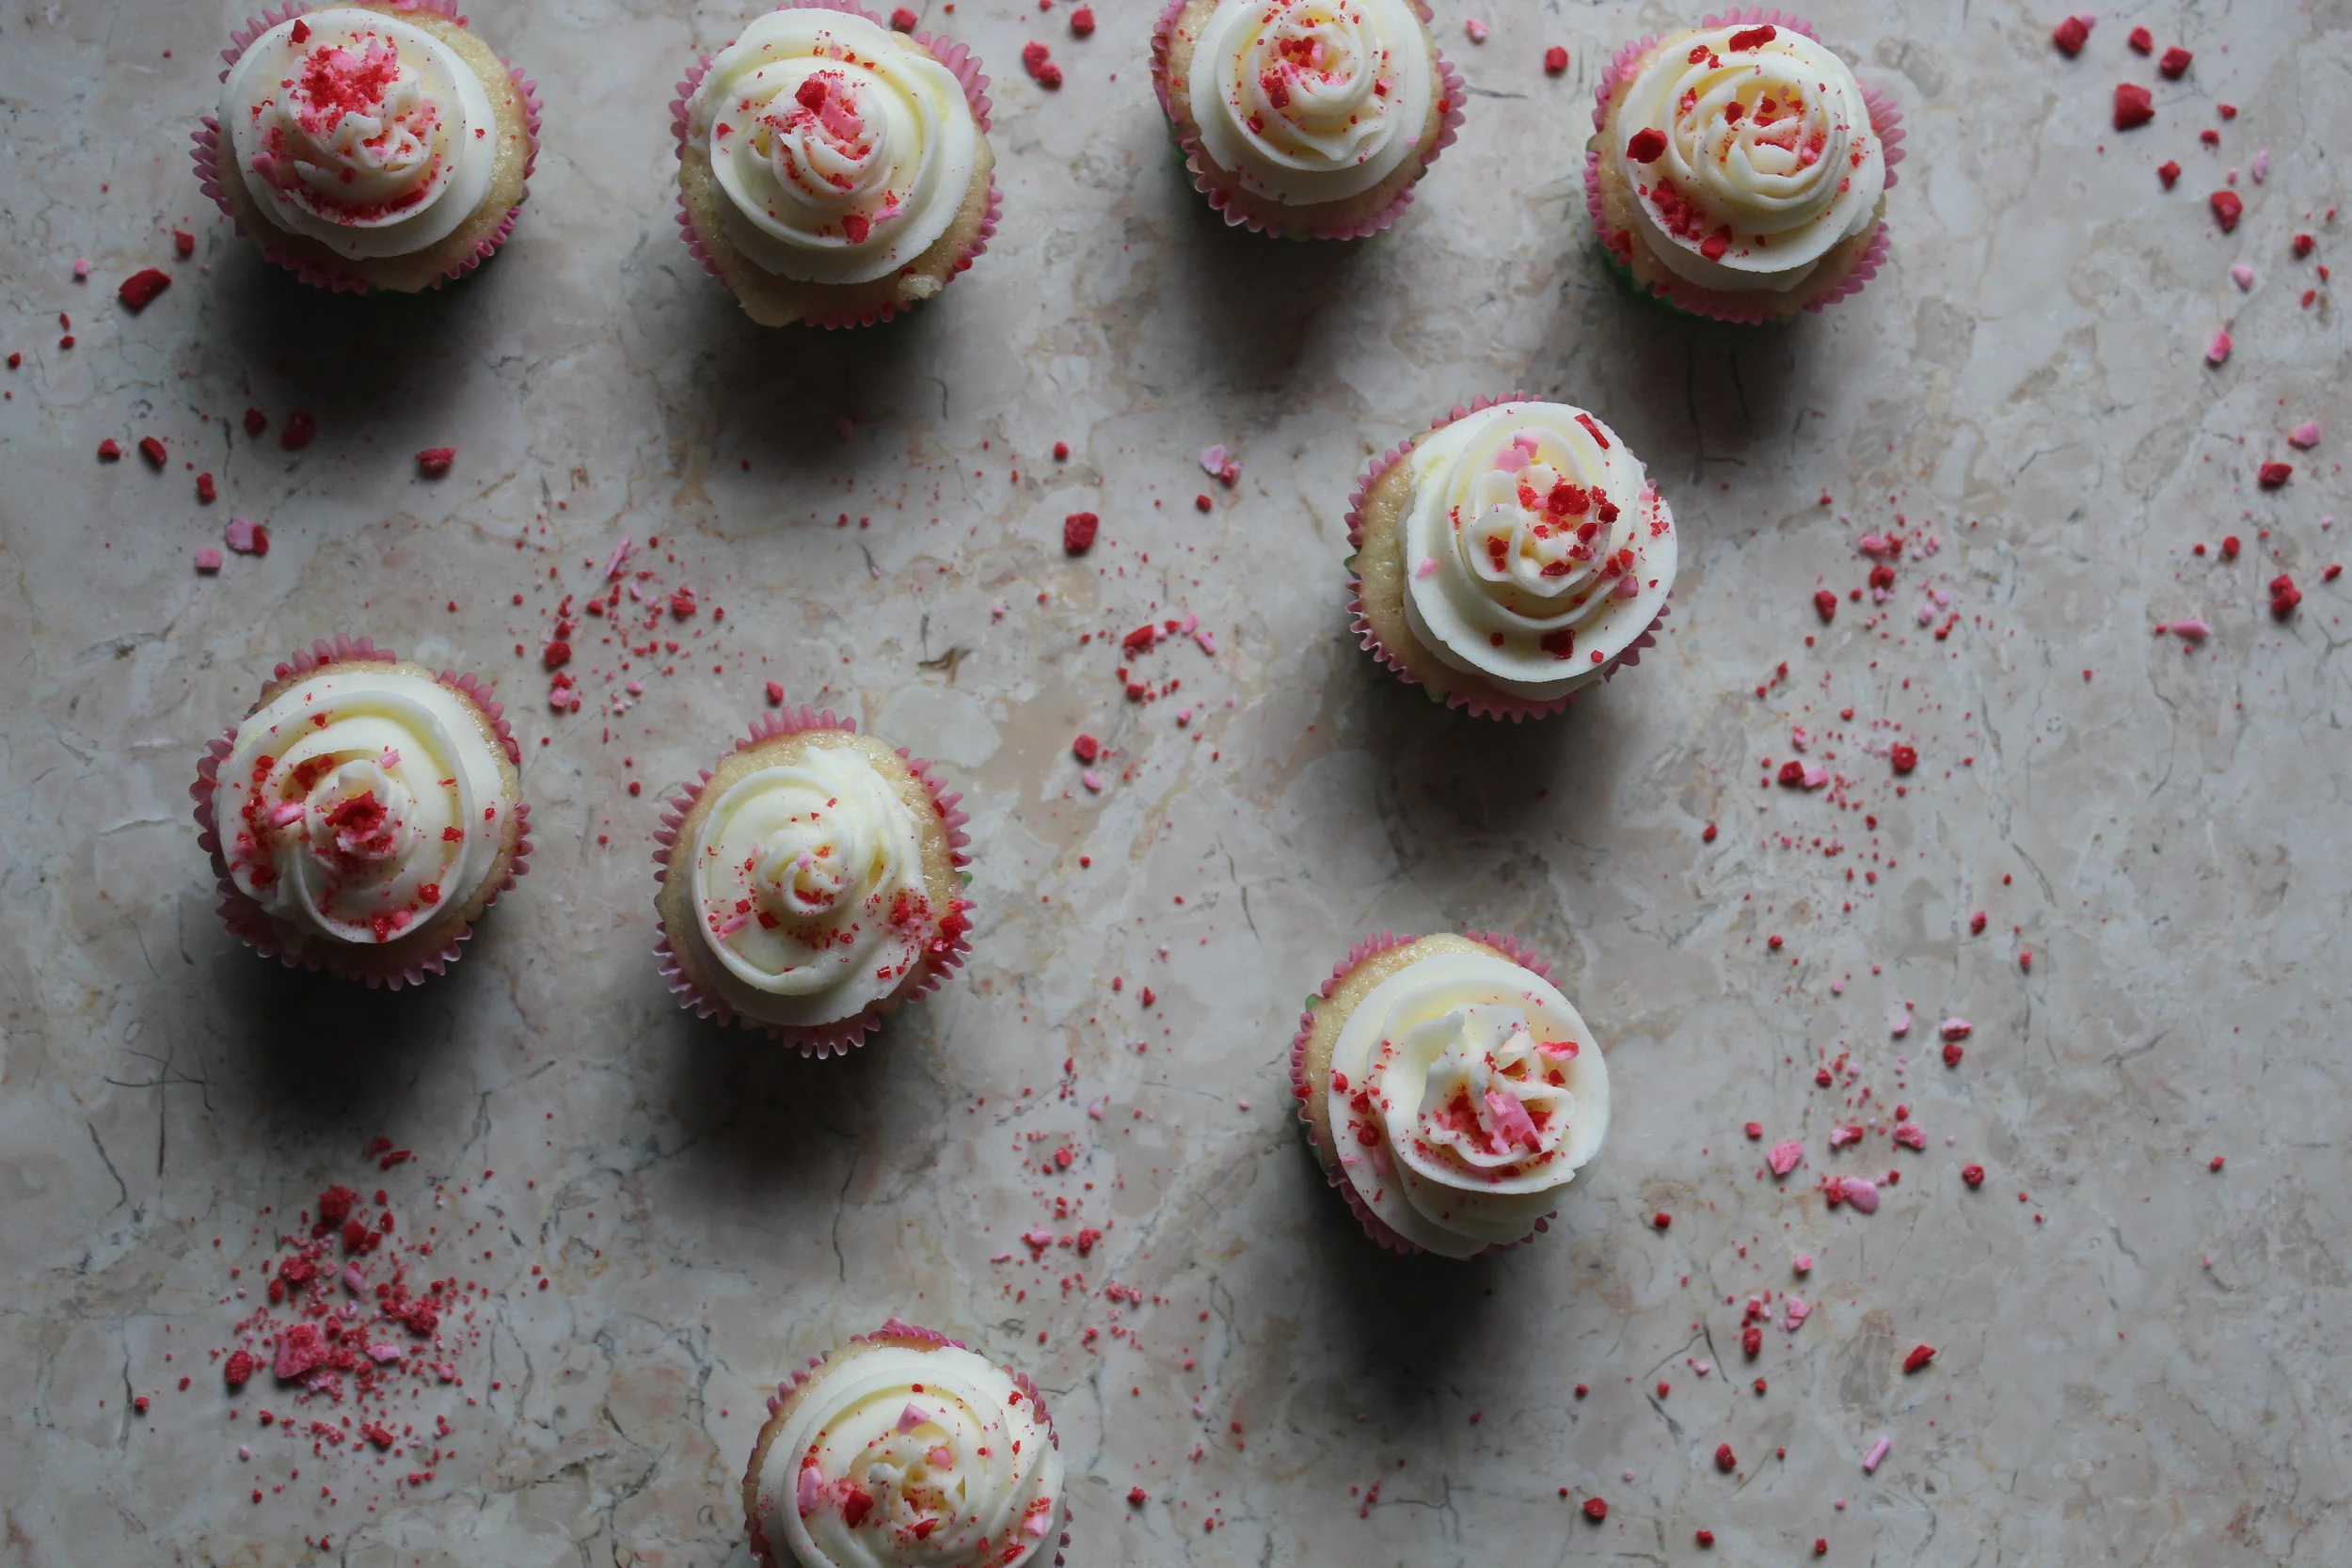
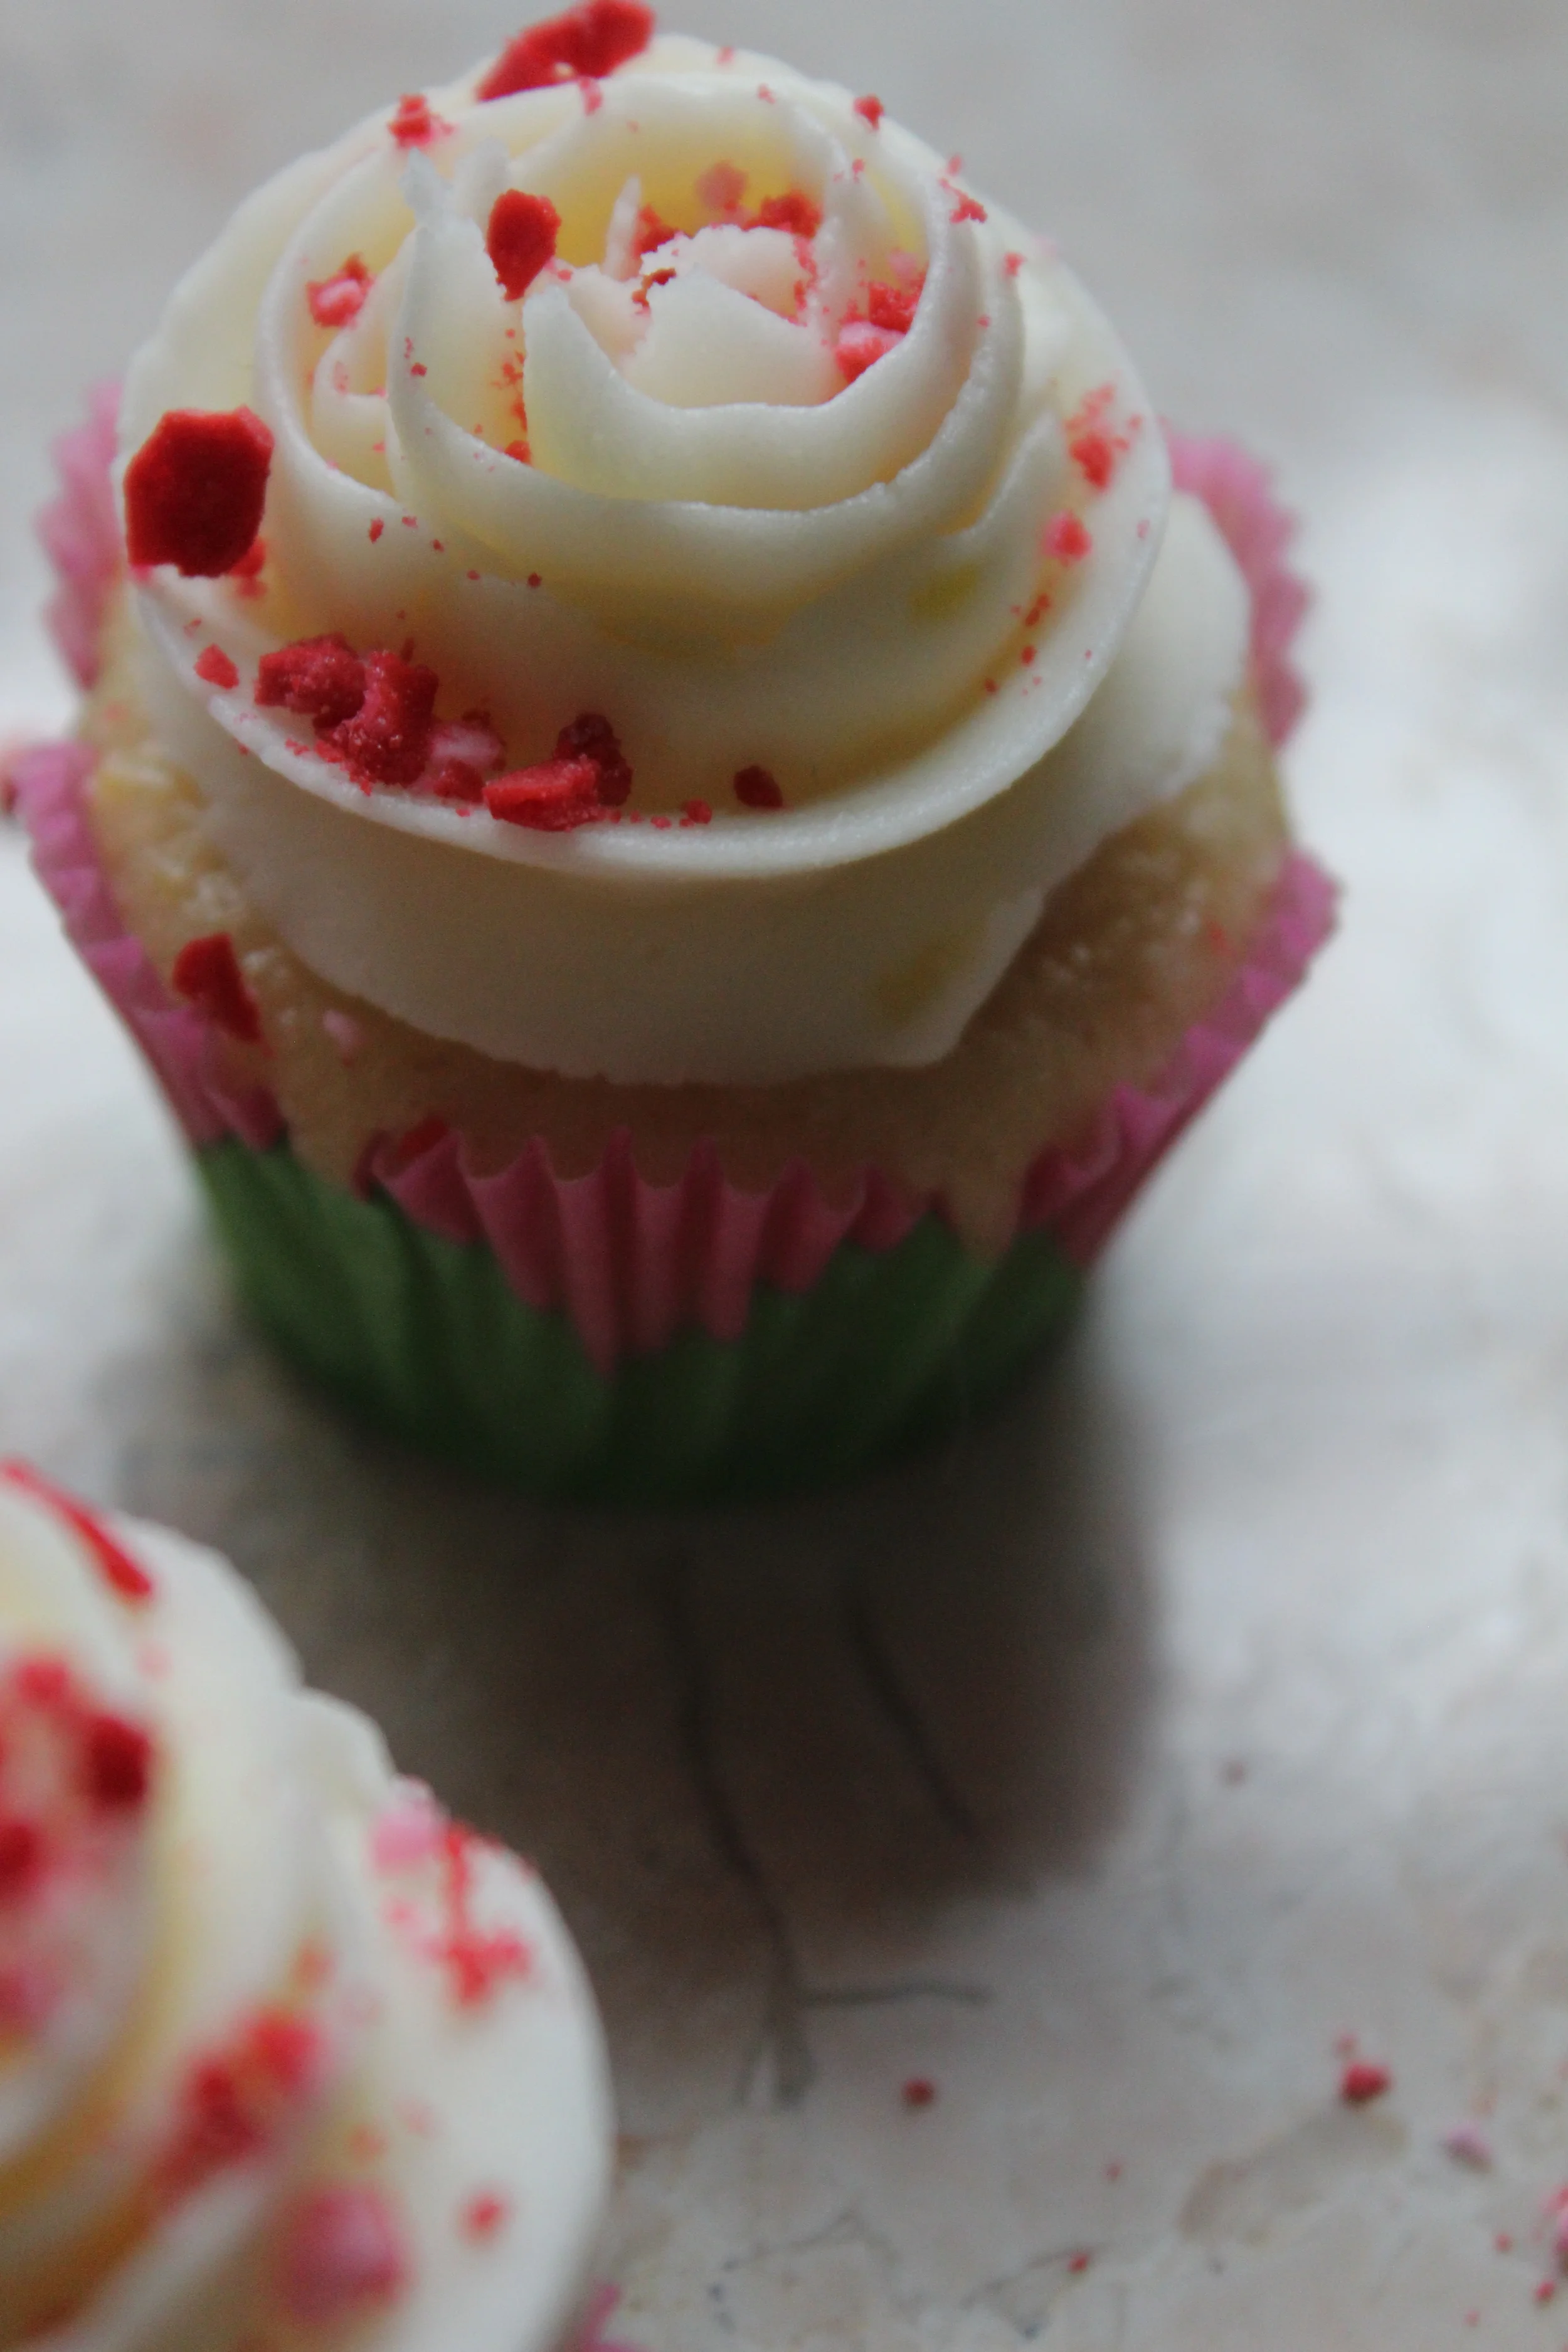
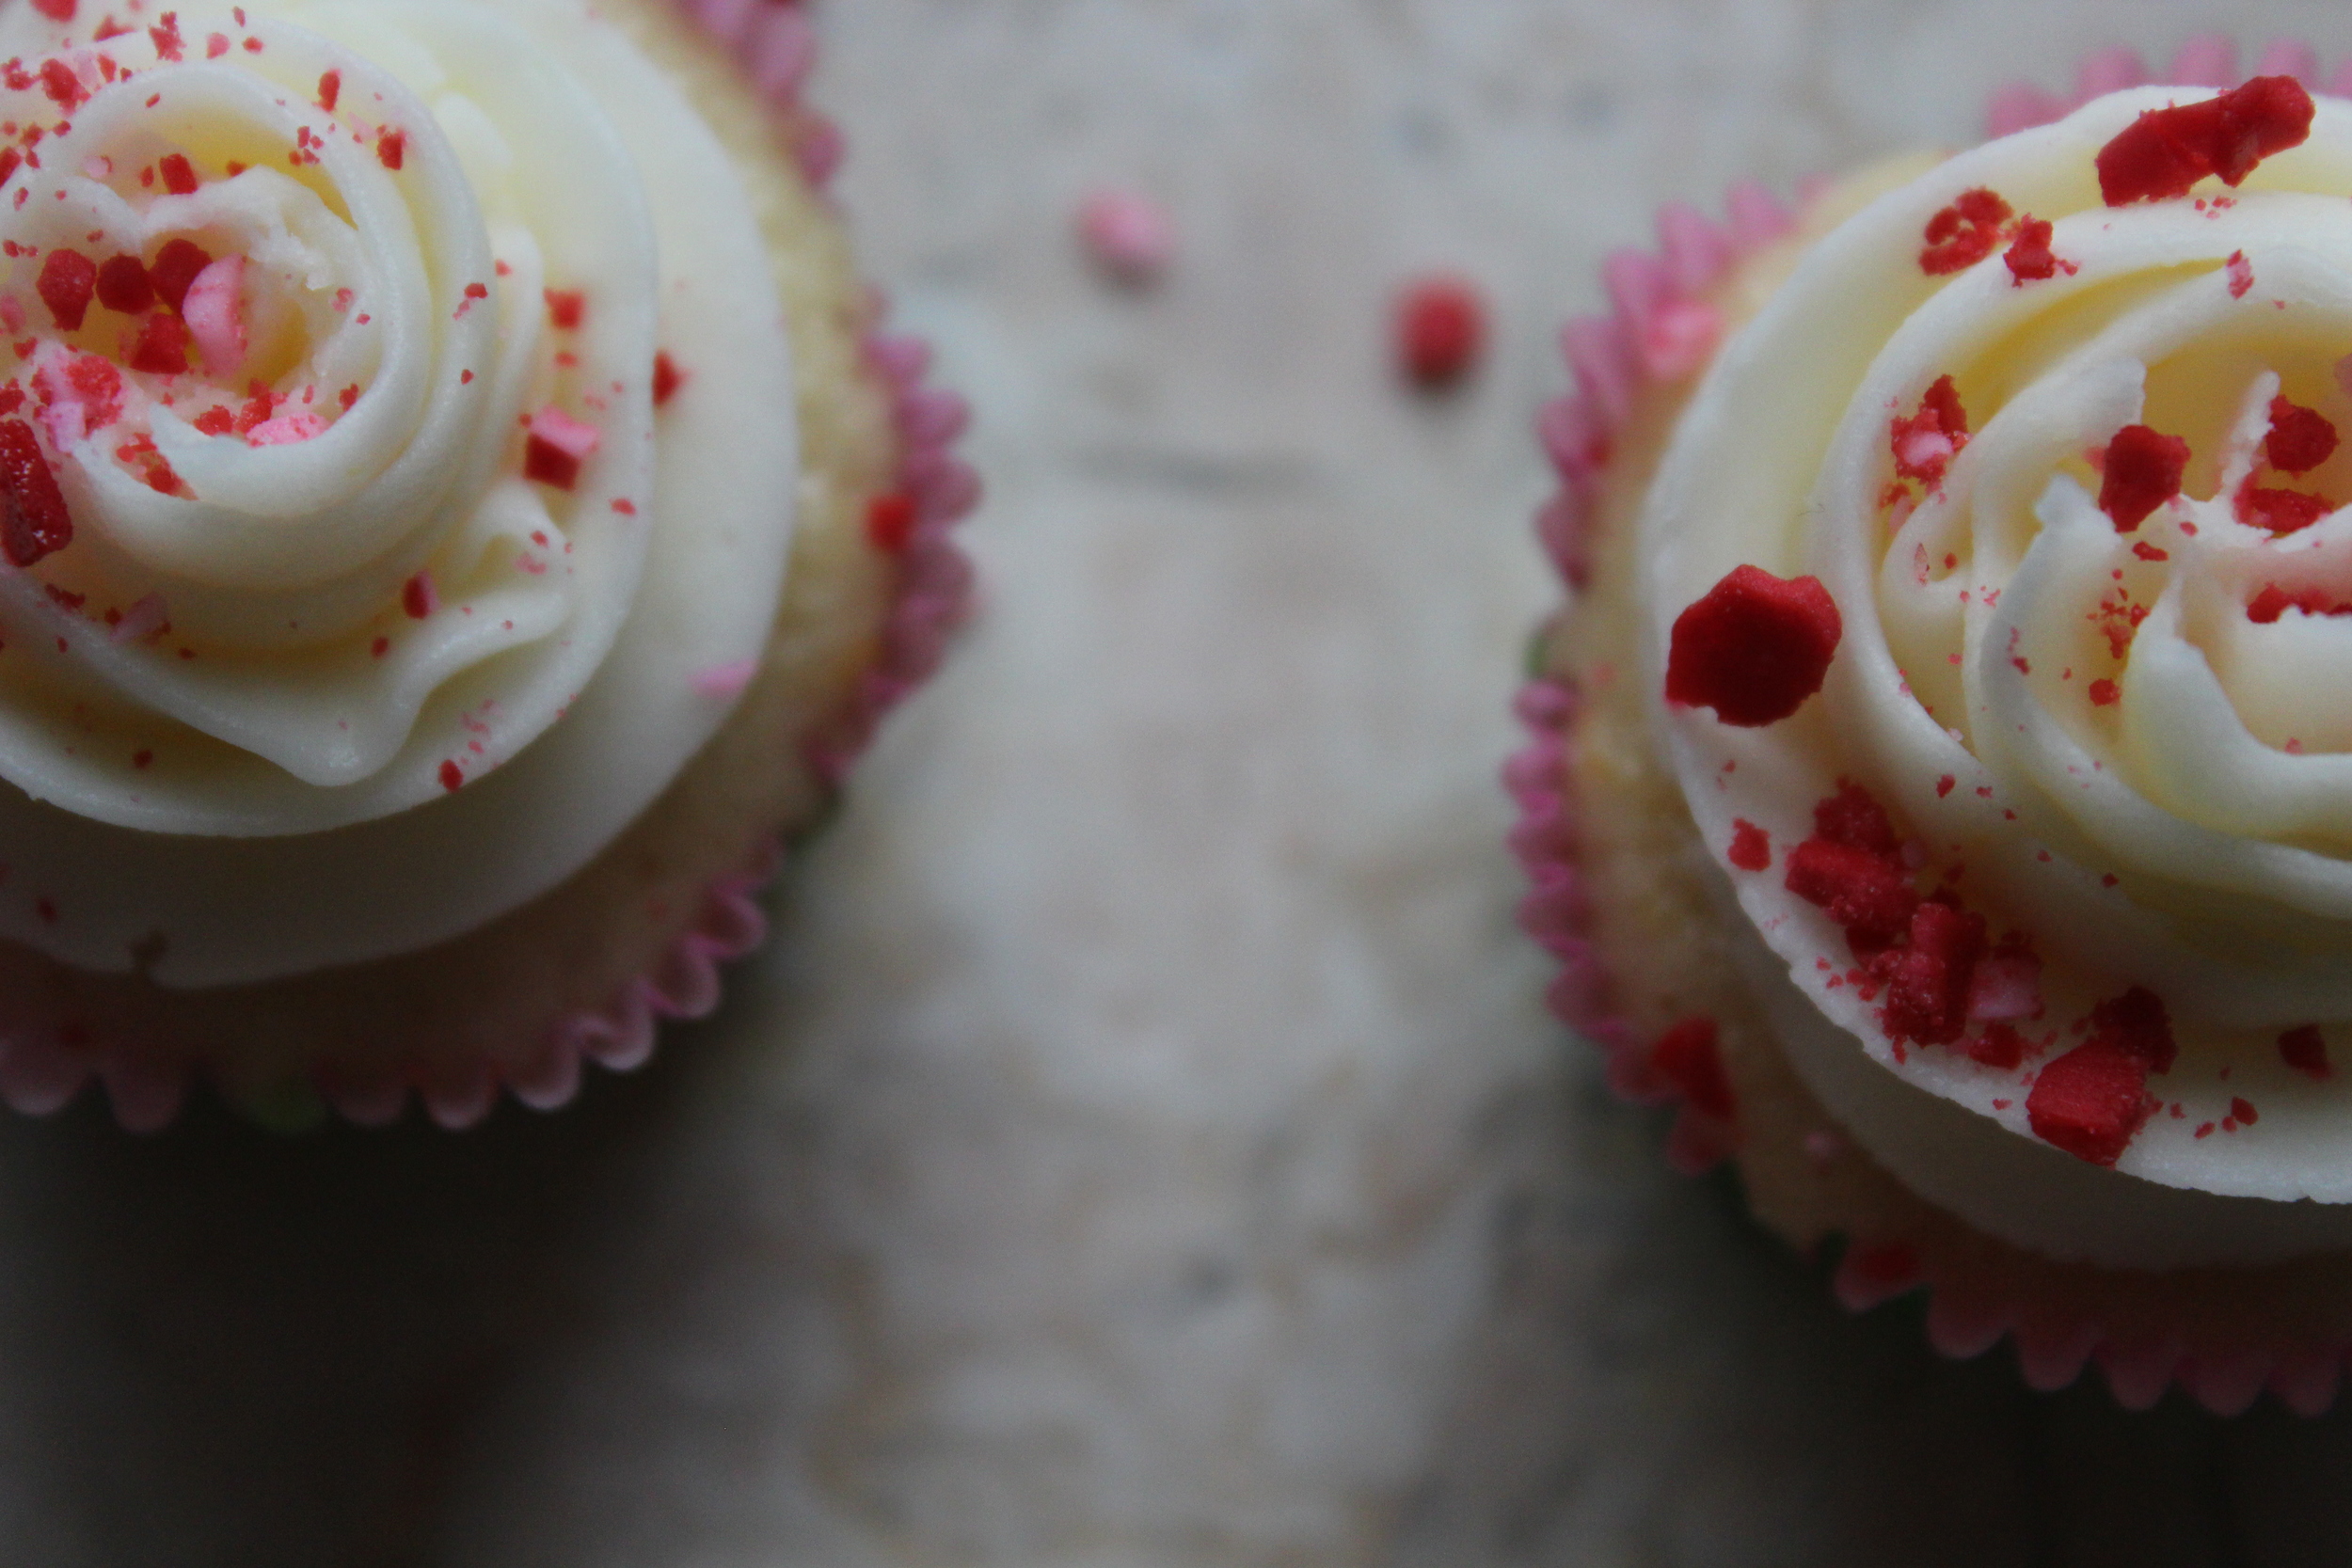
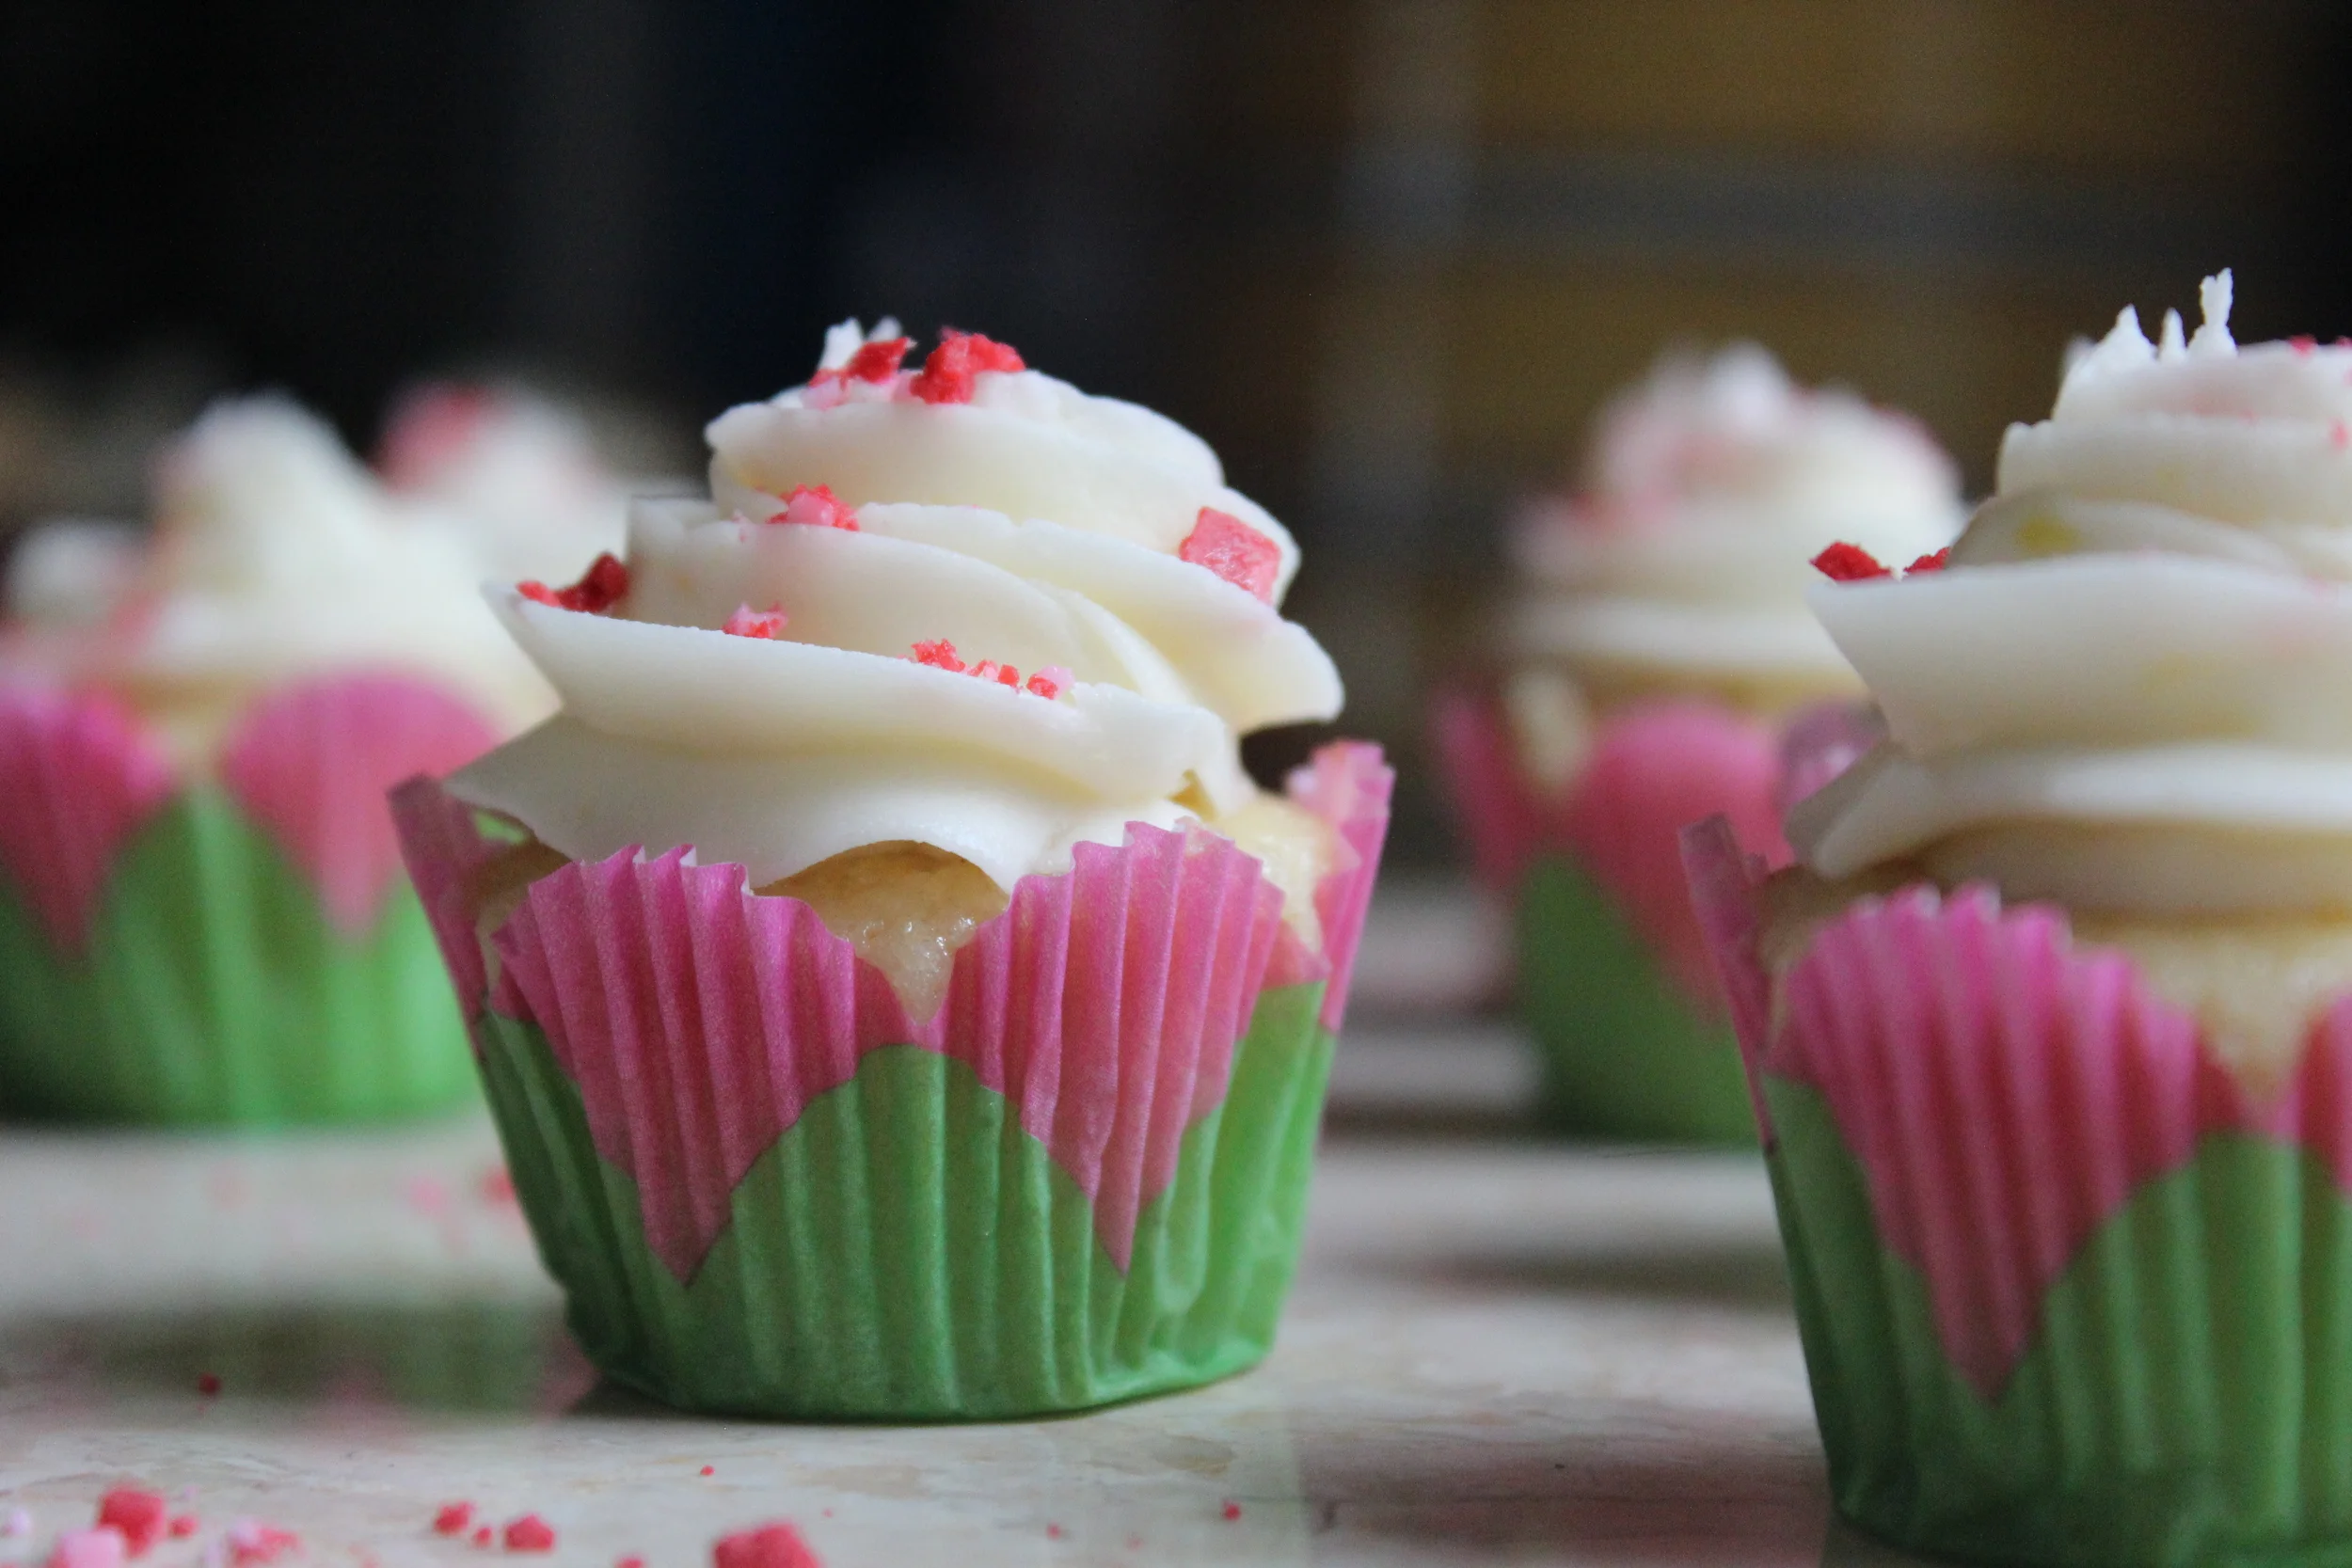
Lemon Cupcakes with Raspberry Filling and Lemon Buttercream

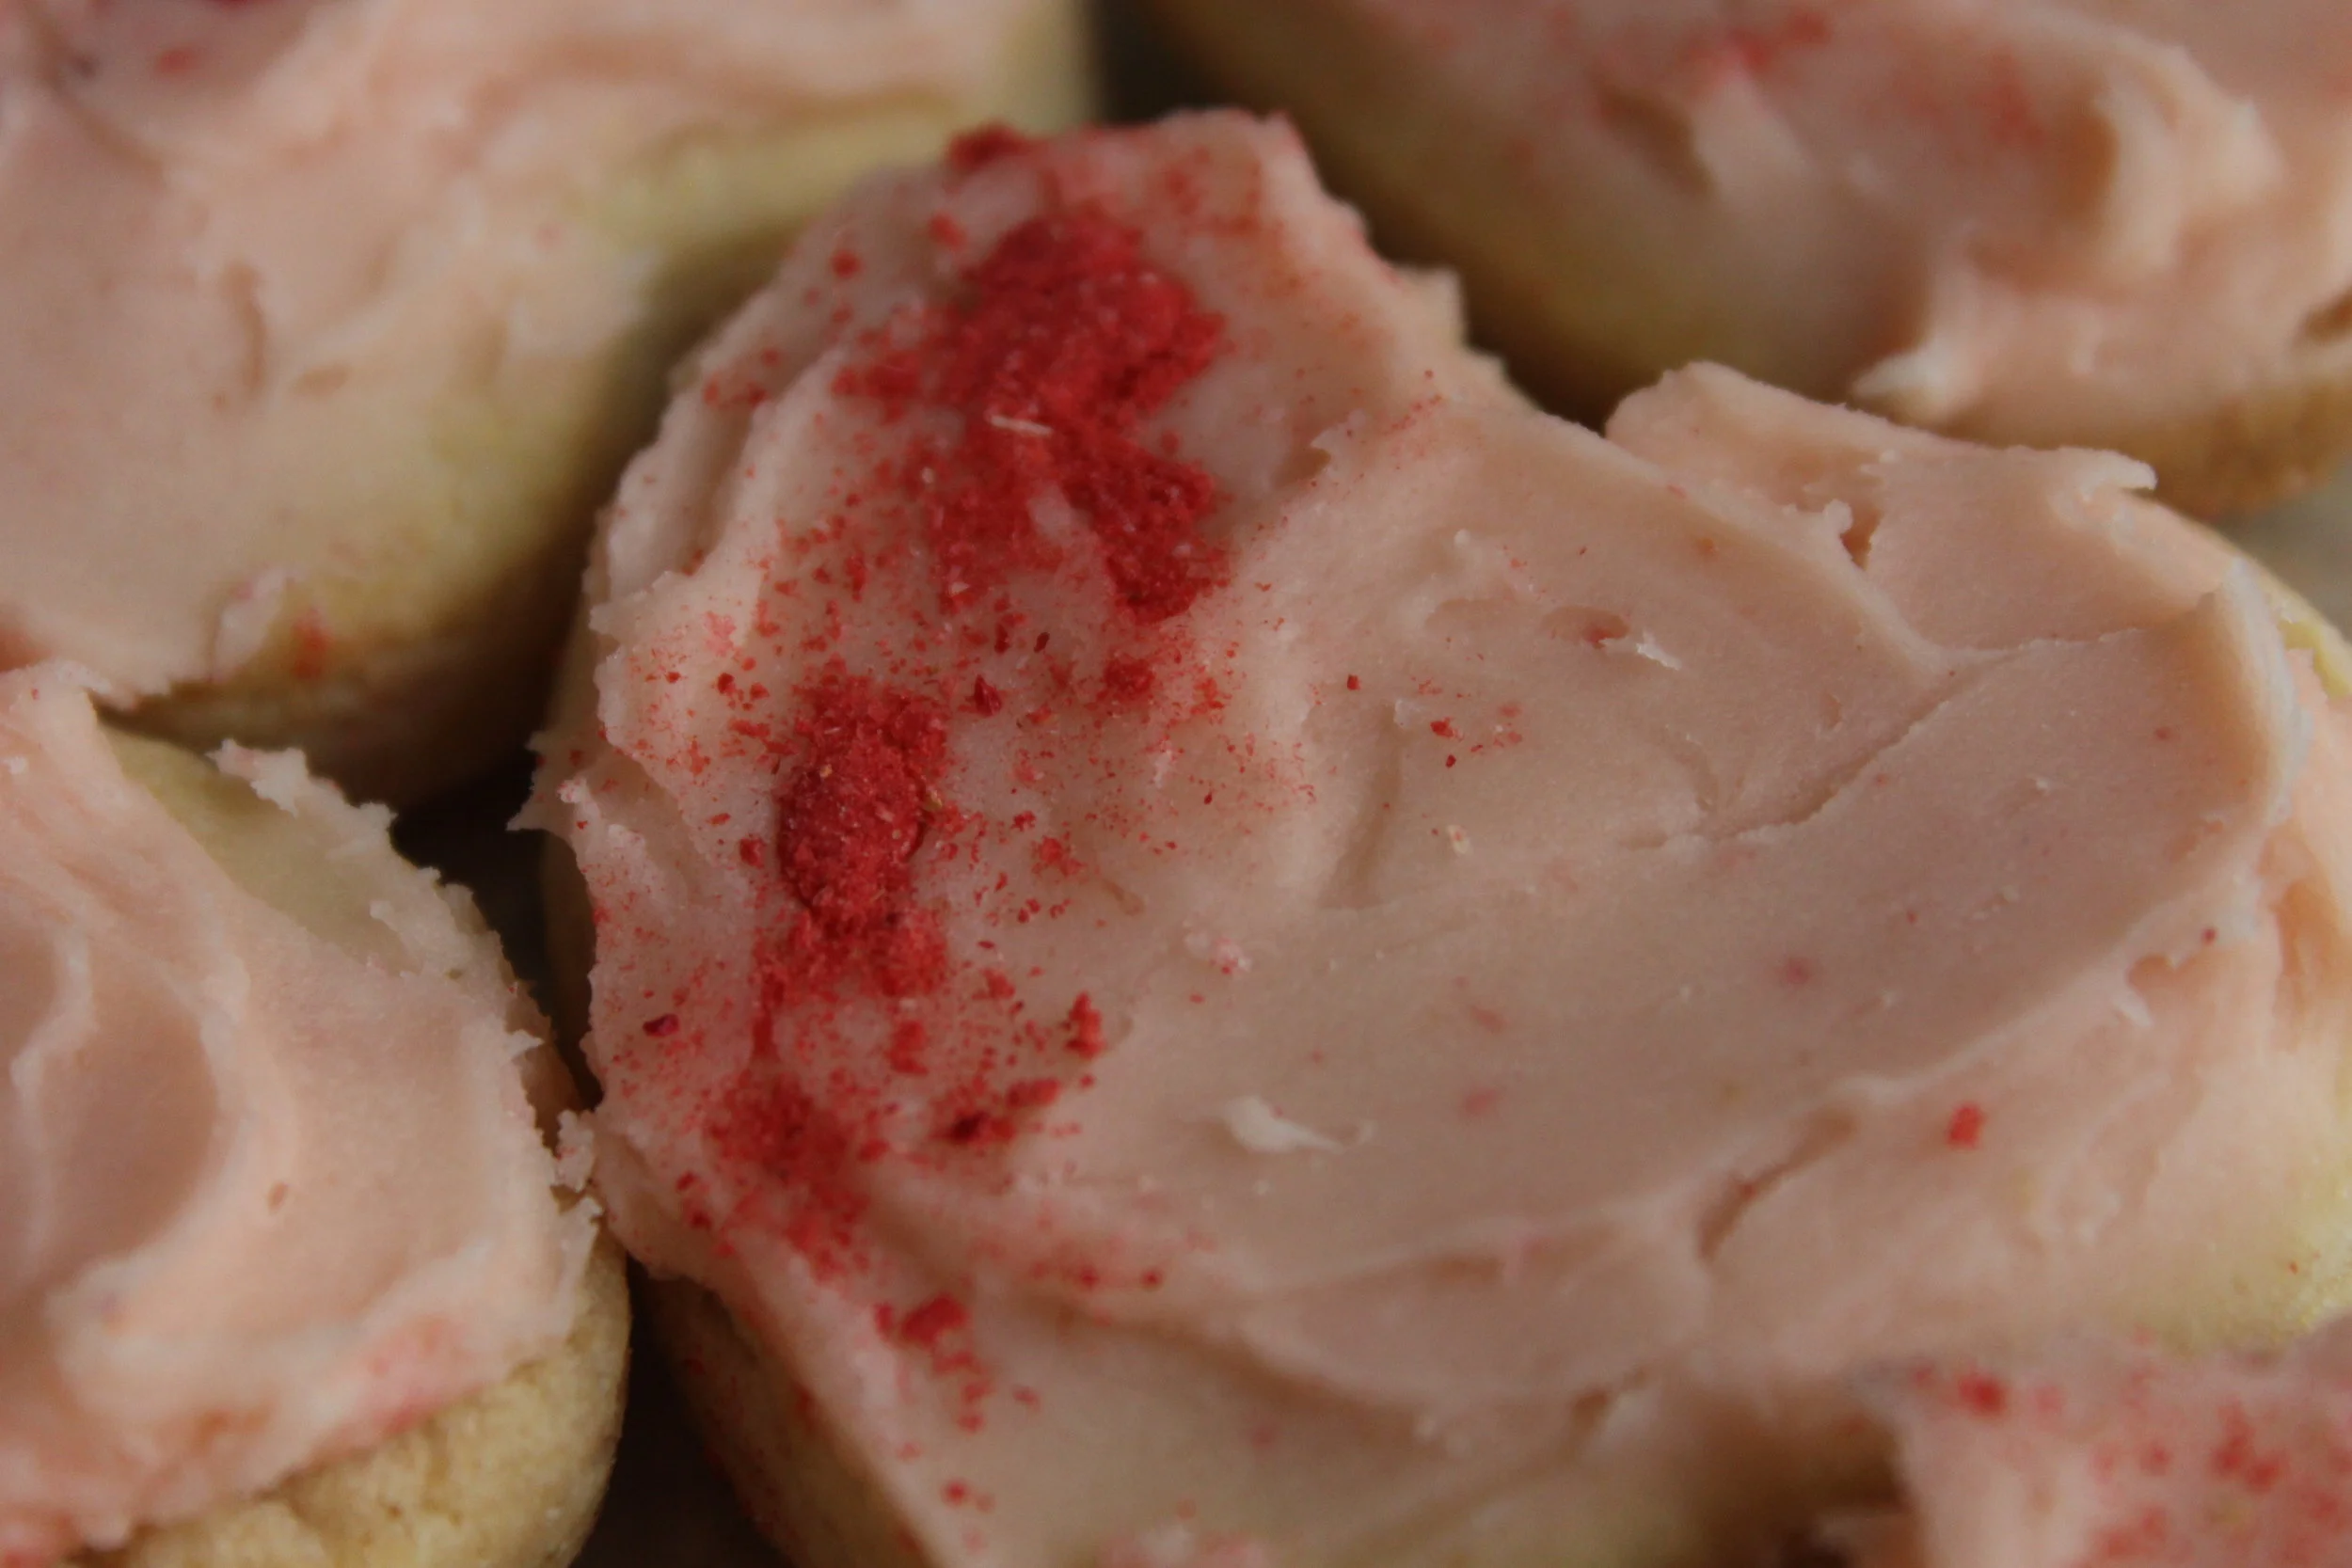
(oh, and homemade raspberry sprinkles!)

Ingredients

Cupcakes (From Sally)

  • 1/2 cup (115g) unsalted butter, softened to room temperature
  • 1 cup (200g)granulated sugar
  • 2 large eggs, room temperature preferred
  • 2 teaspoons vanilla extract
  • 1 and 1/2 cups (190g) all-purpose flour
  • 2 teaspoons baking powder
  • 1/2 teaspoon salt
  • 1/2 cup (120ml) milk (I use whole, but any milk is fine)
  • zest + fresh juice of two medium lemons
  • raspberry preserves (I use Bonne Maman, which they carry in our local grocery store.)

Preheat the oven to 350F. Line 24-count mini-cupcake pan with paper liners. Set aside.

Make the cupcakes: Using a handheld or stand mixer fitted with a paddle attachment, beat the butter and sugar together on medium-high speed in a large bowl until creamed. About 2-3 minutes. Scrape down the sides and bottom of the bowl as needed. Add eggs and vanilla. Beat on medium-high speed until everything is combined, about 2 full minutes. Scrape down the sides and bottom of the bowl as needed. Set aside.

In a medium bowl, toss together the flour, baking powder, and salt. Slowly add the dry ingredients to the wet ingredients in 3 additions, beating on low speed after each addition. Batter will be thick. Beat in the milk, lemon zest, and lemon juice on low speed until just combined. Do not overmix this batter at any point.

Spoon batter evenly into 24 cupcake liners. Bake for about 13 minutes. Check at 12 minutes, then again at 13. A toothpick inserted in the middle will come out clean when done. Remove from the oven and cool in pan for 10 minutes, remove to a cooling rack and allow to cool completely before filling and frosting. I stick mine in the freezer while I make the frosting. It makes filling and frosting easier to work with very cold cupcakes.

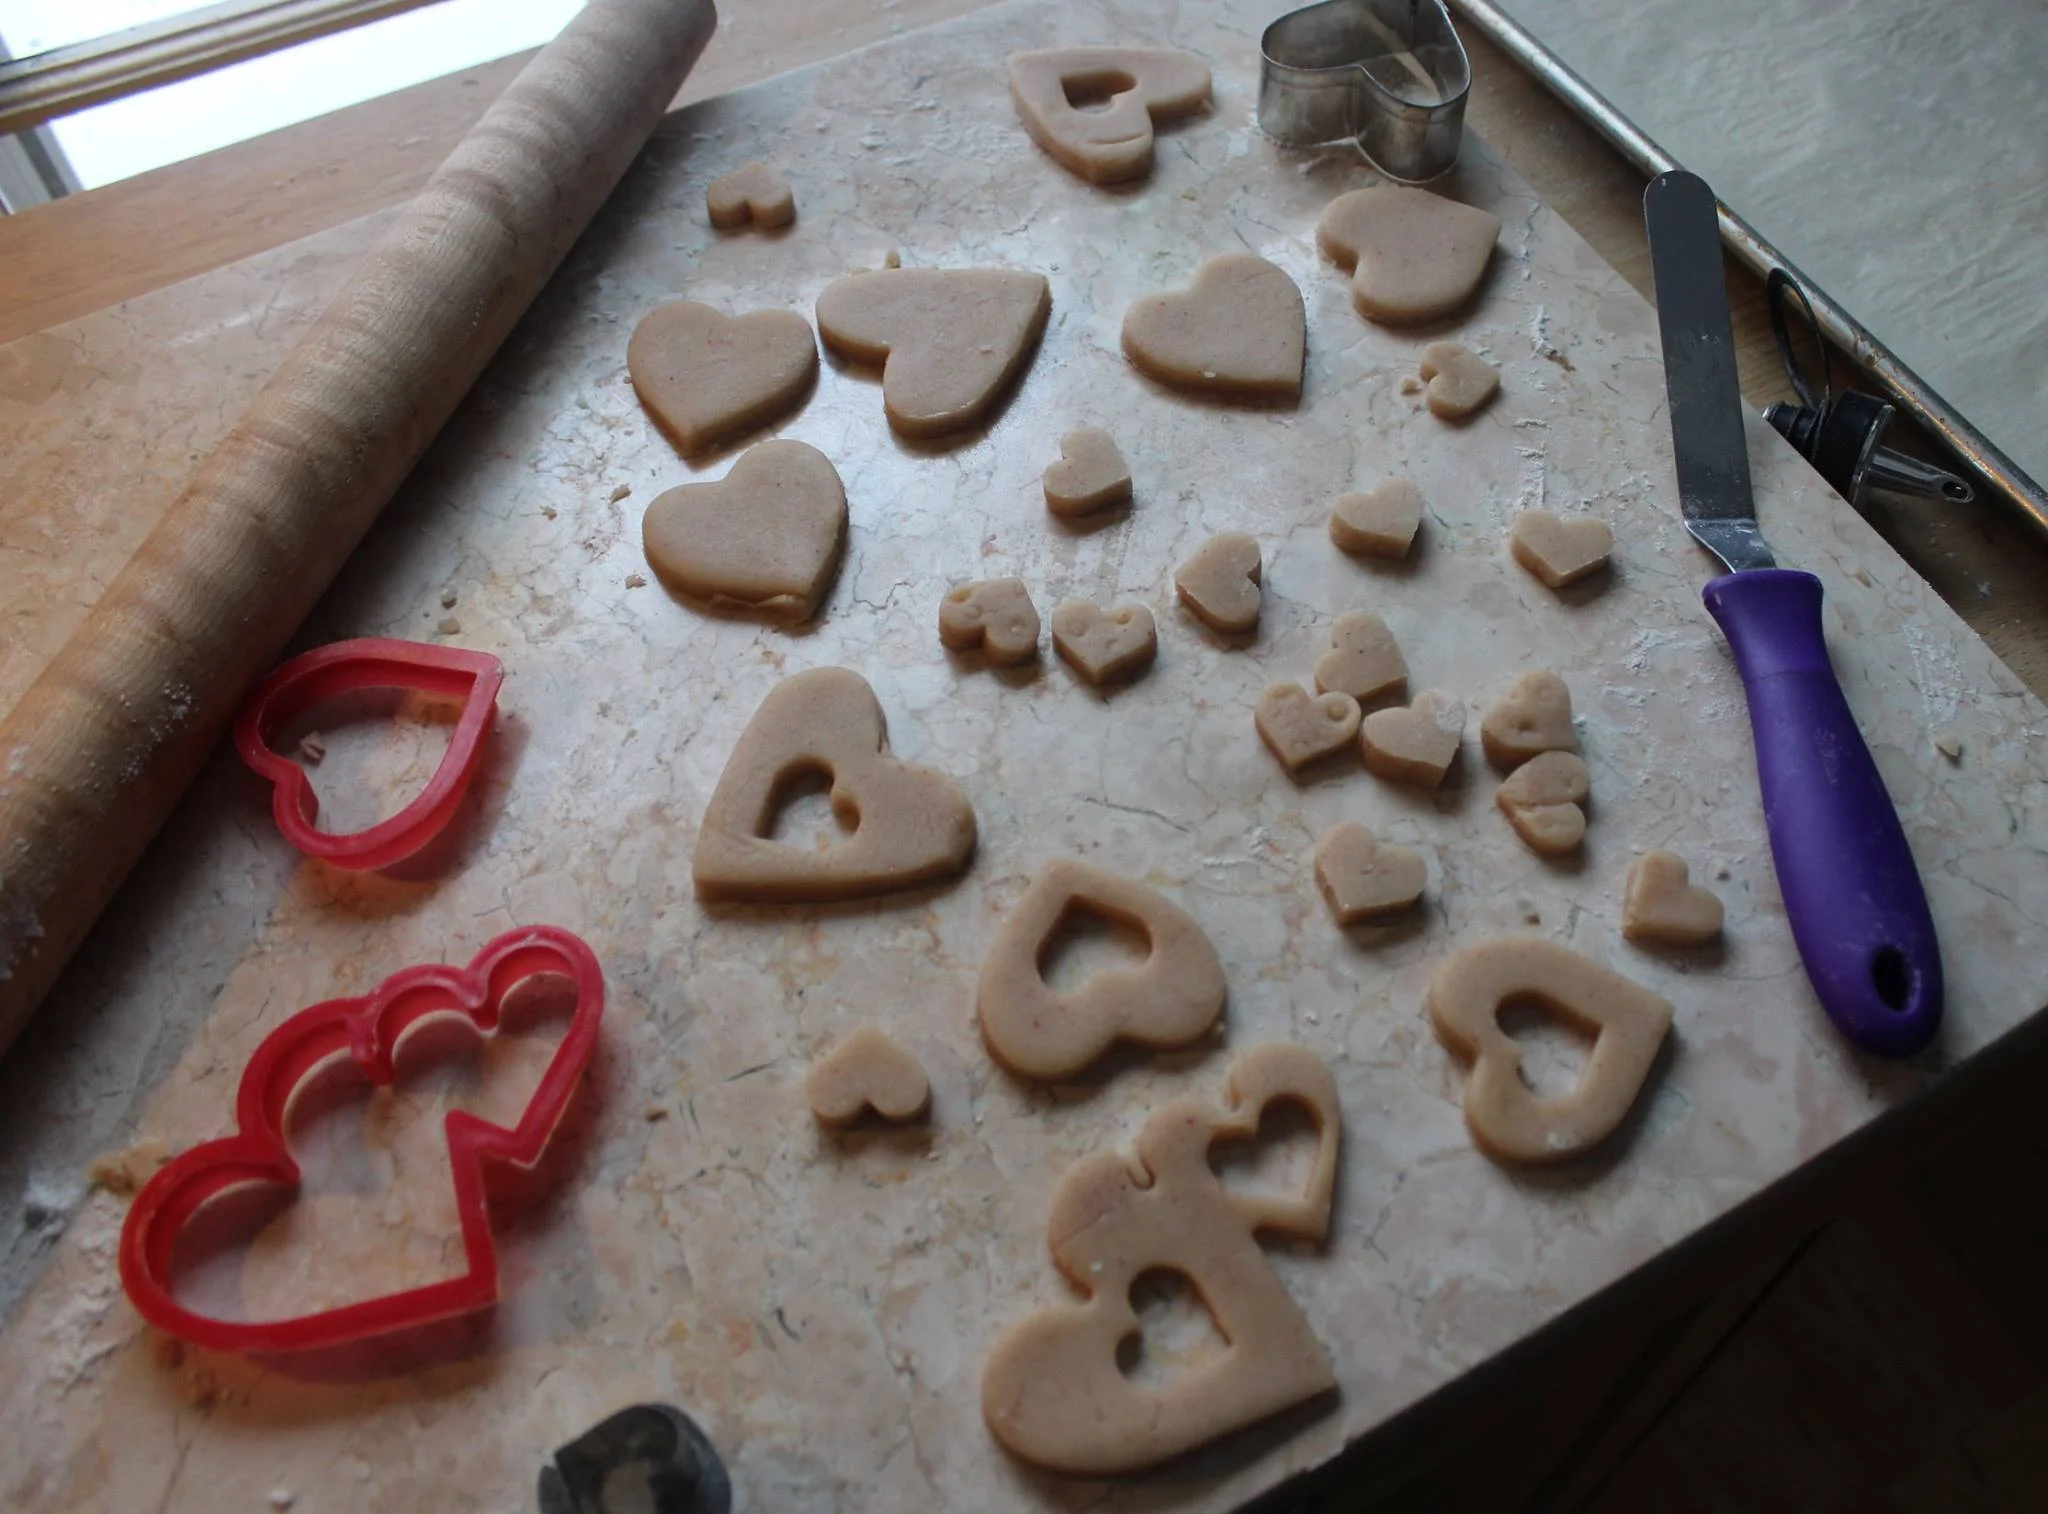
For the filling, I simply press a round, 1/4 t into the center of the cupcake and carve out a bowl. Make sure to not go to the bottom. My craters are probably 1/2 to 2/3 of the way into the cupcake. I use a small piping bag with no tip to squeeze raspberry preserves into the cakes. Though I forgot to take a picture of this stage, it looks like what I did with the cupcakes in the Ireland entry last week.

Frosting (From Hummingbird High)

  • 5 tablespoons unsalted butter, at room temperature
  • 2 cups confectioners' sugar, sifted
  • 2 tablespoons grated lemon zest, plus extra to decorate
  • 2 tablespoons whole milk

In the bowl of an electric mixer, whip the butter until light and fluffy. You almost can't overwhip this. 

Add a few tablespoons of confectioner sugar at a time. This allows you to taste test to make sure you don't put too much confectioner's sugar in the frosting. Got this good tip from Smitten Kitchen.

Add lemon zest and milk. Combine until nice and smooth.

Place frosting in piping bag. I used this Wilton tip without a coupler. Just set the tip inside the bag. The tip is so wide that it doesn't move around. (For novices, like me, it helps to put the piping bag with tip already placed inside, into a large mouthed, deep glass or jar, folding the edges of the bag over the lip. This gives you a sturdy vessel to hold the bag while you fill it.) Make sure your frosting is nice and soft--warm with your hands if it is too hard.

Homemade Raspberry Sprinkles (From Hummingbird High--Makes about 1 1/2 cups) 

  • 8 ounces confectioner's sugar, sifted
  • 1 egg white, at room temperature
  • ¾  teaspoon raspberry extract
  • ¼ teaspoon salt
  • Assorted food coloring (I used Wilton's jarred gels in pink and red)

I line a baking sheet with parchment to pipe out the sprinkle mixture. It allows me to slip the paper off onto a surface for drying, and then my baking sheet is available for other things.

In the bowl of an electric mixer fitted with a paddle attachment (or using a handheld electric whisk), combine confectioner's sugar, egg white, extract, and salt.

Mix the ingredients on low speed until a paste forms. The paste should have the consistency of liquid glue. Scrape down the sides of the bowl and continue mixing until all the confectioner's sugar is fully incorporated.

Divide the paste into as many portions as you have colors (although, this recipe works best with a maximum of 3 colors), tinting each batch with the color of the choice. Use a rubber spatula to stir the food coloring into the paste until it is an even color.

Transfer the different colored pastes into their own pastry bags, each fitted with a small pastry tip (I recommend Wilton's #2 or #3). Pipe out long, thin lines on a cookie or jelly roll pan, ensuring that the lines do not touch each other.

If you want dots, just touch the piping tip directly against the parchment and lift directly upward, quickly. This should give you a nice round dot. I found I didn’t need to squeeze the bag. The mixture came out better that way. Experiment!

Repeat the process with the remaining colors and allow the piped lines to set, uncovered in a dry place, for 24 hours. Once the piped lines have dried completely, inside and out, use a bench scraper or a butter knife to break and/or chop the piped lines into short, sprinkle sized pieces. Use immediately, or store in a dry, airtight container for up to 1 month.

For these sprinkles, I used crushed pieces of sprinkles. Sometimes when I rounded the bed of my lines, the curve was wider and misshapen. Those end pieces were the ones I crushed.


March 21, 2016 /Patty Kenny
Spring, spring snowstorms, Easter, Lemon cupcakes, Raspberry filling, Homemade sprinkles
Maineiac Mind, Maineiac Kitchen Covers
Comment
  • Newer
  • Older

Copyright Maineiacheart 2015. Photos and text can be copied with credit and link to this blog.

Powered by Squarespace